


White Plains, NY – January 30, 2026 – Interoceanic Corporation (“IOC”) announced today that its affiliate Spring Valley USA (Spring Valley) , has acquired the blending and packaging assets and business of Turf Care Supply, LLC, a leading manufacturer and blender of turf and ornamental fertilizers as well as ice melt. The combination of Spring Valley and Turf Care Supply’s blending business, forms one of the largest independent lawn and garden fertilizer platforms in North America. The integrated business will have approximately 250 employees and will operate eight manufacturing and blending facilities across seven states, enabling coast-to-coast coverage of customers. By uniting two highly complementary companies, this acquisition creates a world-class turf & ornamental supply company positioned to deliver enhanced value to both professional and retail customers. “This acquisition is a transformative step for our organization,” said Elio Mazzella , President of IOC and Spring Valley. “By bringing Turf Care Supply into the IOC family, we are significantly expanding our reach and capabilities in serving the lawn and garden industry. The combined company will have an unrivaled production footprint and product portfolio, which means we can offer our customers faster service, greater efficiency, and innovative solutions on a national scale. Our goal is to build a world-class platform that blends the strengths of both businesses – the supply chain efficiencies of the combined business and the family-business values – will drive growth for our customers and vendor partners.” With the closing of the transaction, Turf Care Supply, LLC will be renamed Allied Nutrients and continue to manufacture leading enhanced efficiency fertilizers (“EEF”) out of its Martins Ferry, Ohio facility. Mark Mangan, President of Allied Nutrients, commented, “we want to thank our long-time employees that will be joining the IOC family and wish them well. We have known the IOC team for many years and believe this will be a great home. At the same time, we are excited for our remaining employees as we focus our resources and efforts on providing the best EEF solutions to the turf and ornamental market.” With this acquisition, the combined company now operates manufacturing facilities in Wisconsin, Ohio, Texas, Florida, Massachusetts, Tennessee, and Oklahoma, giving it the ability to blend and package fertilizer products and ice melt closer to customers in every major region. Turf Care Supply’s sites in Hatfield (MA), Sebring (FL), Cleveland (TN), and Catoosa (OK) will join Spring Valley’s existing plants in Jackson (WI), Fostoria (OH), Greenville (TX), and Longwood (FL). This expanded footprint significantly reduces transit times and enhances supply reliability for our customers. Maintaining strong customer relationships during and after the integration is a top priority. “All of our customers will continue to receive the outstanding service and product quality they expect, now with the added benefit of a truly national production network,” Mazzella added. Each major customer will be supported by an expanded team dedicated to ensuring a seamless transition and ongoing success. Strategically, the merger of Spring Valley and Turf Care Supply unlocks significant commercial synergies that will benefit both our customers and vendor partners. Together, the company will offer the most comprehensive product portfolio in the industry. “This combination is about building a platform that is perfectly suited to support our customers growth,” said Mazzella. “By combining our R&D and product development efforts, we intend to bring new, high-value solutions to market that neither company could have achieved alone.” The integration of the two businesses is already underway, with a focus on maintaining operational continuity and exceptional customer service throughout the spring season. The company also emphasized that all Turf Care Supply employees are being welcomed into the organization, and that the combined workforce will play a crucial role in driving the business forward. “This is an exciting moment for all of us. By uniting two great teams, we’re creating a stronger company with a shared commitment to our customers’ and vendors success, ” Mazzella noted. About Interoceanic Corporation (IOC): Based in White Plains, NY, IOC is a diversified family-owned company specializing in the production, marketing, and distribution of fertilizer and industrial chemical products. Other notable affiliates of IOC are PCI Nitrogen, Columbia River Nitrogen and EM² Enterprises. With this transaction, the group of businesses consist of over 600 employees. IOC’s family values, entrepreneurial spirit, and supply chain expertise have driven its growth from a regional fertilizer distributor into an international platform that provides reliable, high-quality products. About Allied Nutrients: Based in Brunswick, OH, Allied Nutrients specializes in providing enhanced efficiency fertilizers that support turfgrass and ornamental plant health. Through world-class manufacturing and research and development, the company offers a comprehensive portfolio of products, including SCU, PCU, PCSCU, reacted slow-release nitrogen, and urease inhibitors. These solutions are marketed under leading brands, such as XCU, TTRU, UFLEXX, UMAXX, Nutralene, and Nitroform.

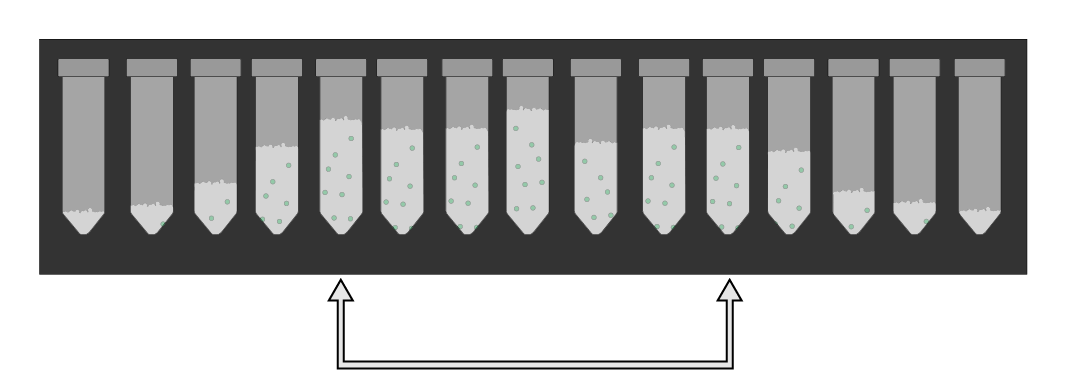
Want to maximize your ROI and turf health? Ditch the filler and replace your blends with Enhanced Efficiency Fertilizers (EEFs), Micro packs, Soil Amendments, or organic materials. These alternatives can reduce your seasonal application of bags, reduce overall material cost and deliver better results!
Turf Care Supply, LLC, a portfolio company of Platte River Equity, has officially acquired Beaty Fertilizer, the industry respected Tennessee-based manufacturer and blender of custom granular and liquid fertilizers, as well as combination products. This strategic move expands Turf Care’s manufacturing footprint, adds new product capabilities, and enhances overall production capacity.
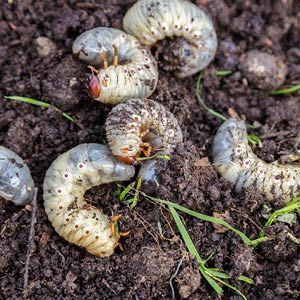
Root out Grubs, Before they Attack Yours!

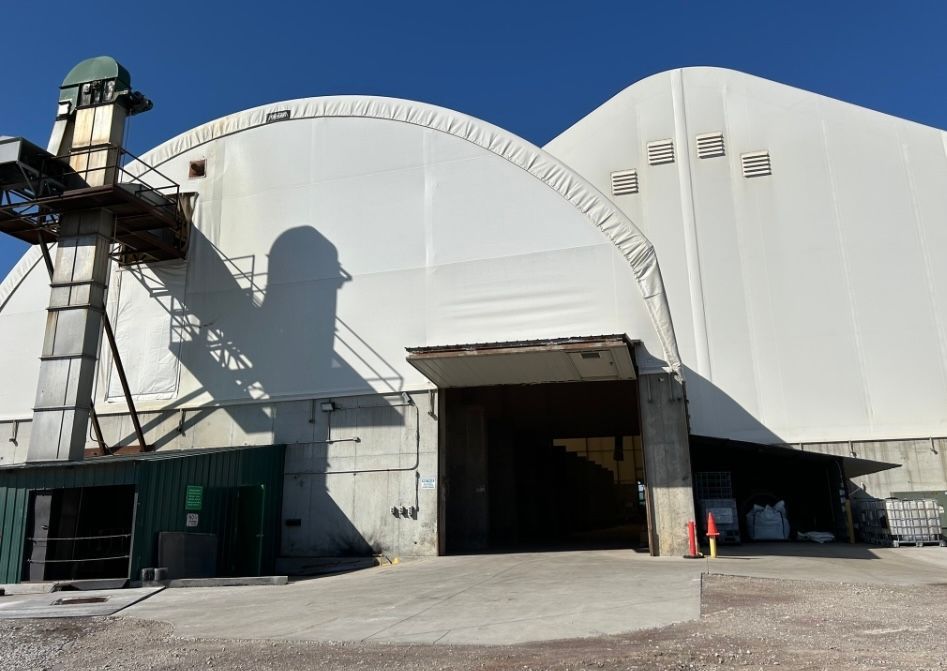
Platte River Equity Portfolio Company Turf Care Supply, LLC Acquires Agri-Nutrients, Inc.
Dear Valued Industry Partners and Customers, We are pleased to announce that Turf Care Supply, LLC has acquired Agri-Nutrients, Inc. (October 1, 2024) a respected manufacturer in the turf and ornamental fertilizer industry. This acquisition marks a significant step forward in our commitment to providing you with an expanded range of innovative products, services, and industry expertise, all designed to support your business’s continued growth and success. As a valued partner or customer, you will benefit from enhanced service capabilities and an extended geographic reach, thanks to Agri-Nutrients, Inc.’s strategic facility located in the Port of Catoosa, Oklahoma. With this established presence in the Southwest and Western markets, Turf Care Supply, LLC’s expanded operational footprint will allow us to serve a broader region with greater efficiency, delivering even stronger support to help drive your business forward. We are dedicated to ensuring a seamless transition while maintaining the high standards of service you expect. If you have any questions or would like to explore how this new location can enhance your operations, please feel free to contact your account manager or our customer service team. Thank you for your continued trust in Turf Care Supply, LLC . We look forward to partnering with you as we grow together and continue supporting your success. Sincerely, Mark ManganPresidentTurf Care Supply, LLC

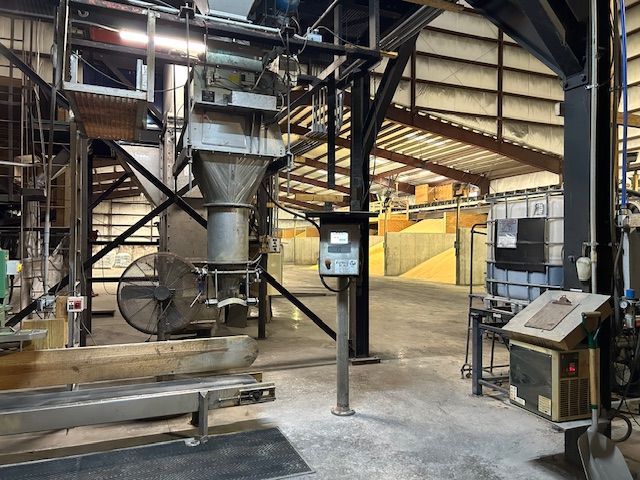
With a focus on providing sustainable manufacturing and reducing carbon emissions, Turf Care Supply has embraced the electric power market with the latest mobile equipment upgrades. Completed in June 2023, TCS received all deliveries of electric forklifts to all three manufacturing facilities, including Hatfield, MA, Martins Ferry, OH and Sebring, FL.
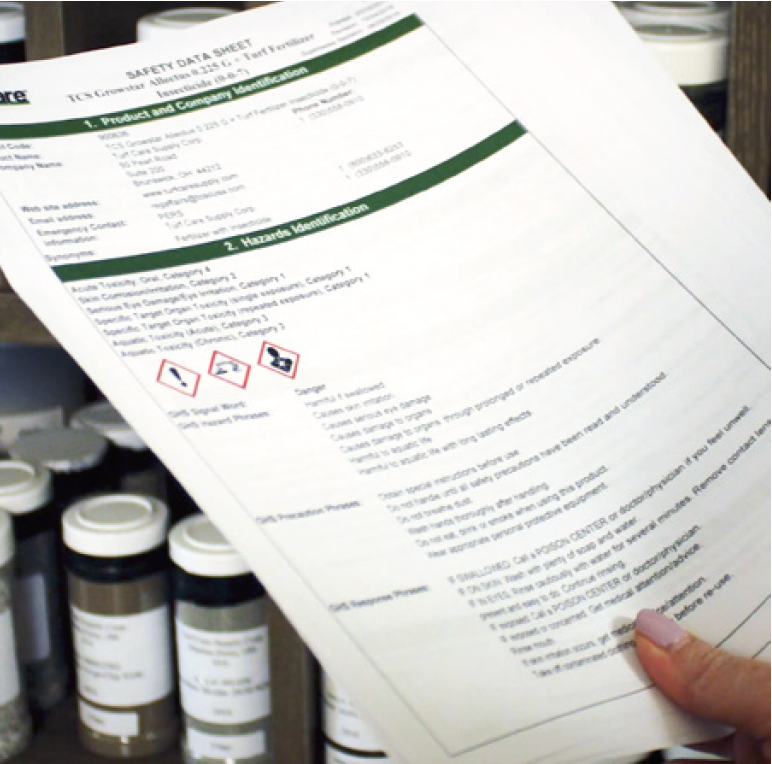
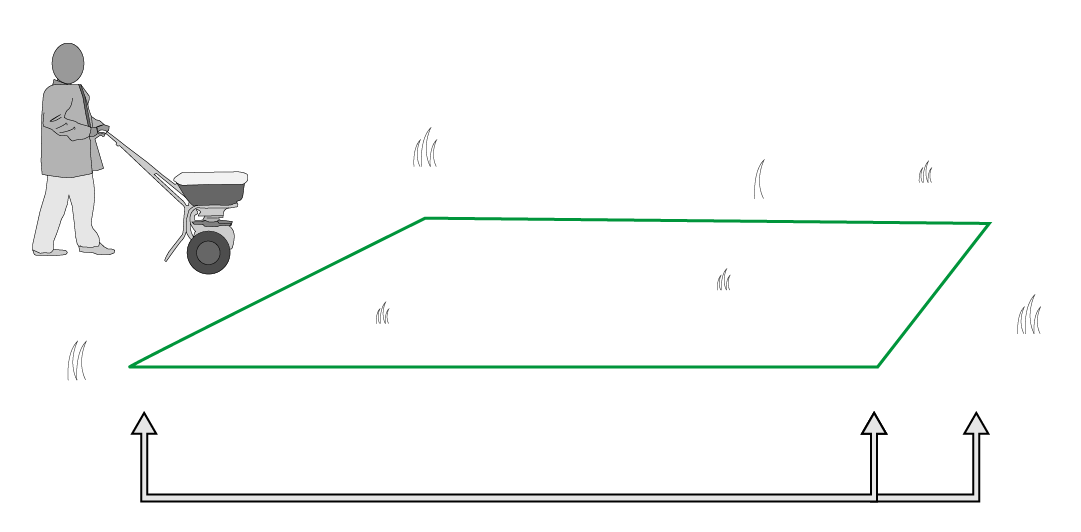
When handling fertilizers and pesticide it is important to follow suggested guidelines and prioritize safety to protect yourself, others, and reduce environmental impact. Here are some general measures to follow: 1.Read and Follow Instructions: Carefully read and understand the product labels, safety data sheets (SDS), and any accompanying instructions provided by the manufacturer. Follow all recommended guidelines, precautions, and application rates.

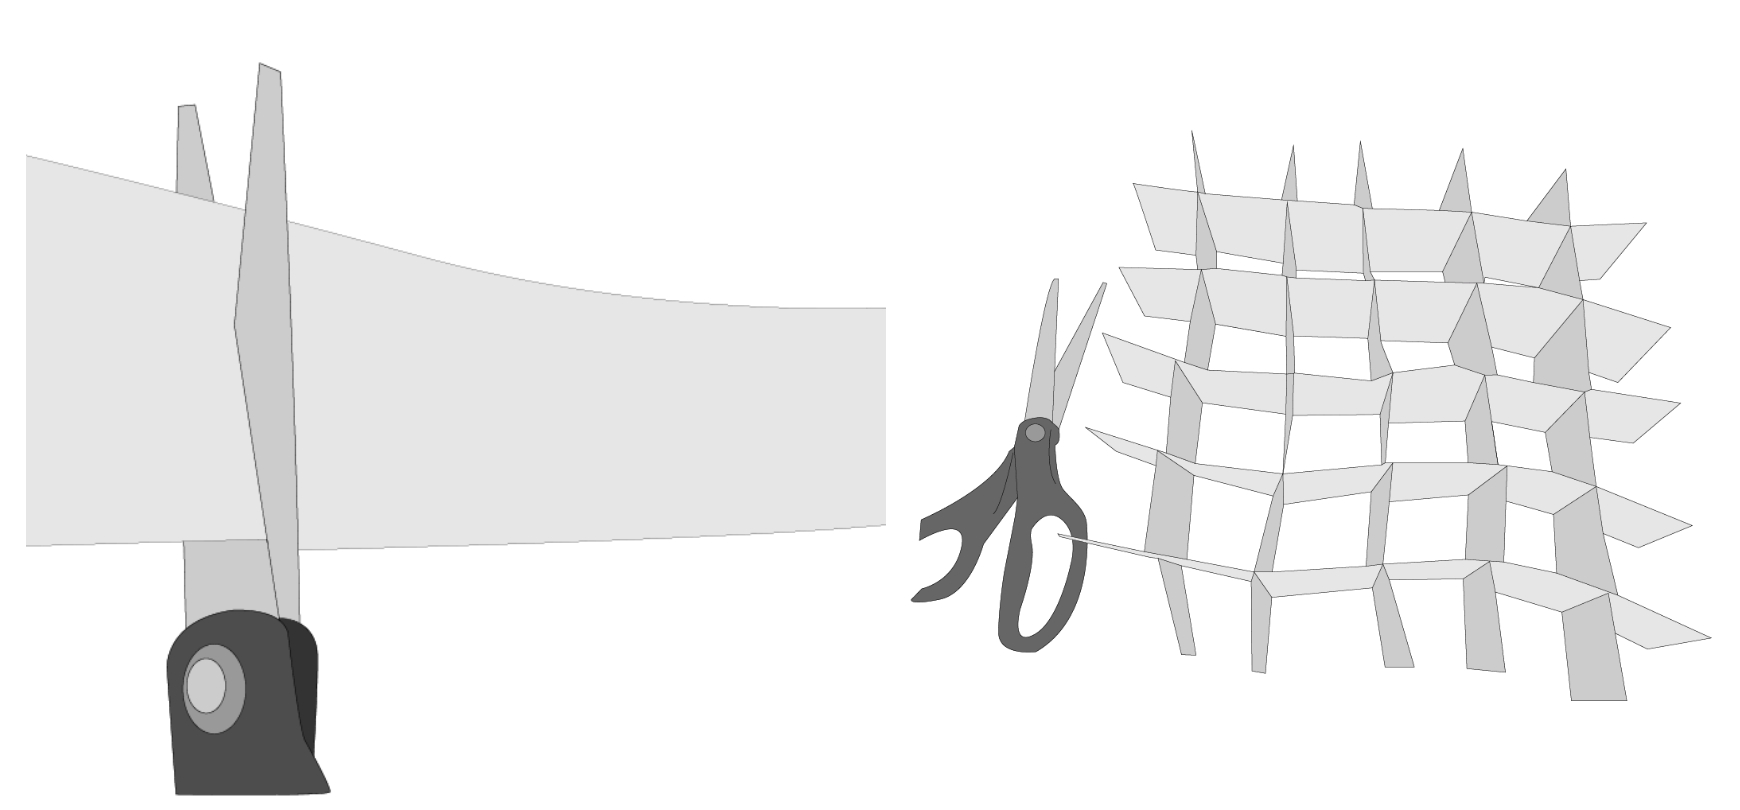
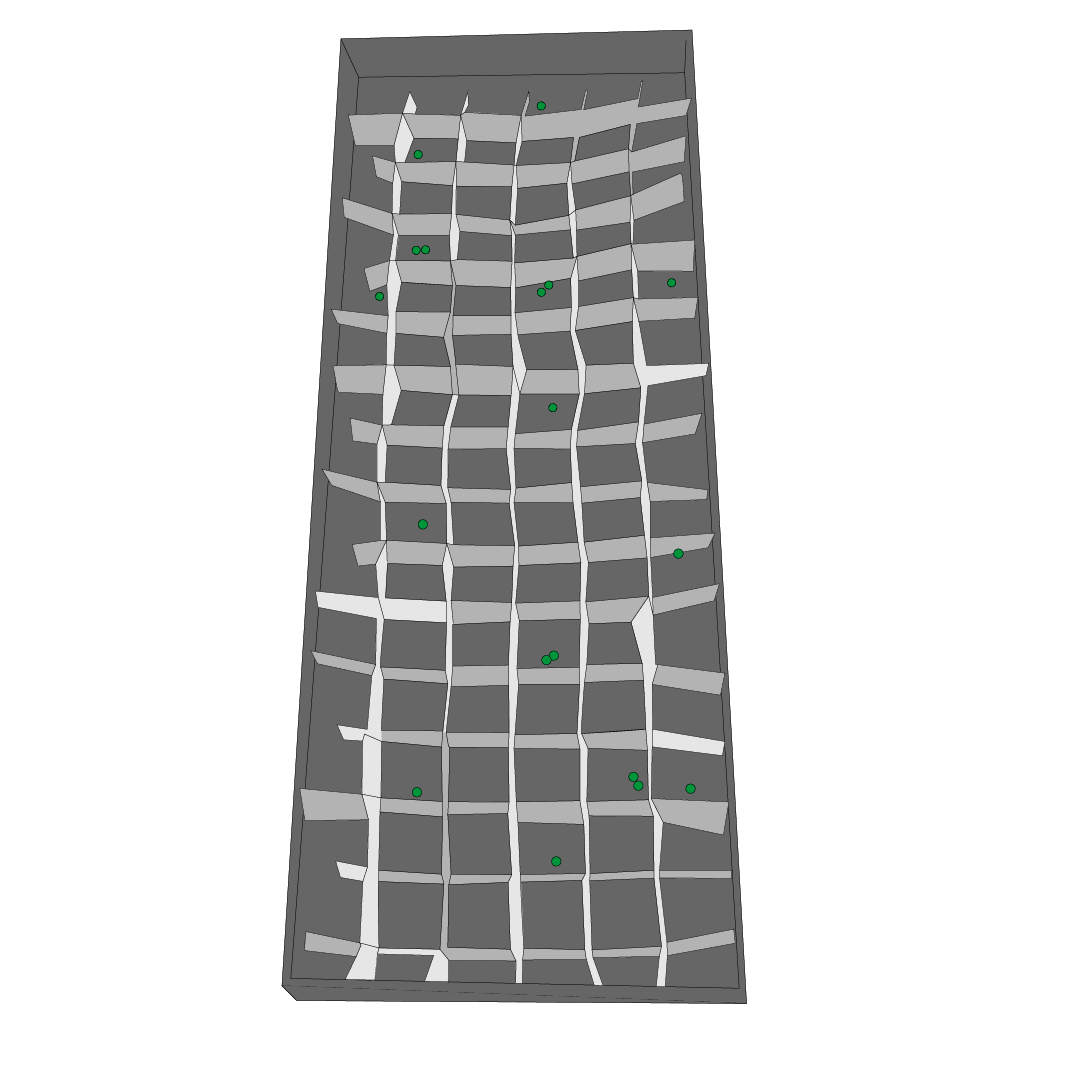
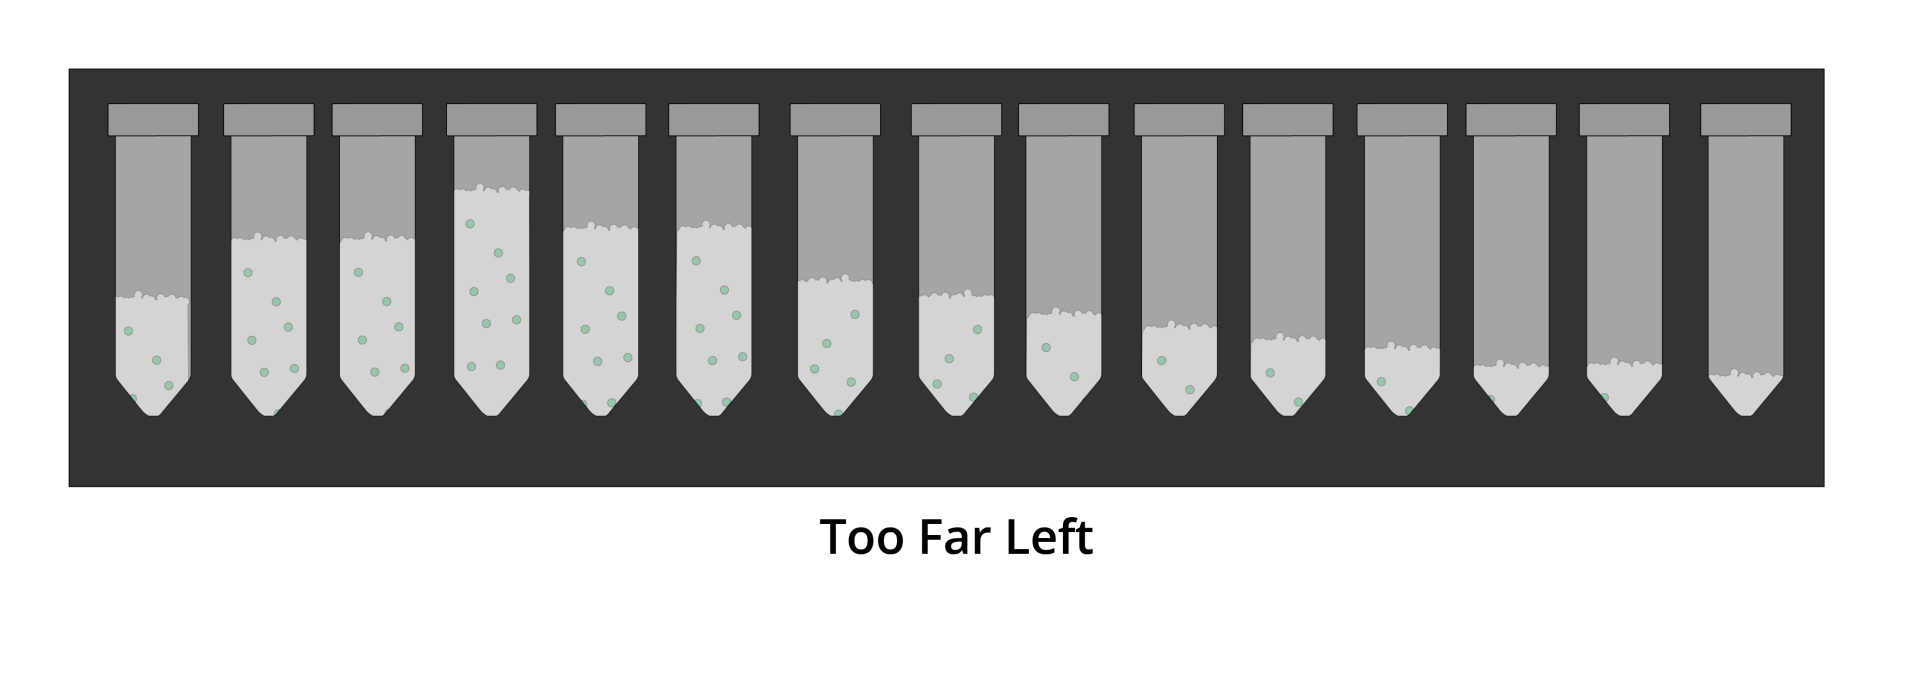
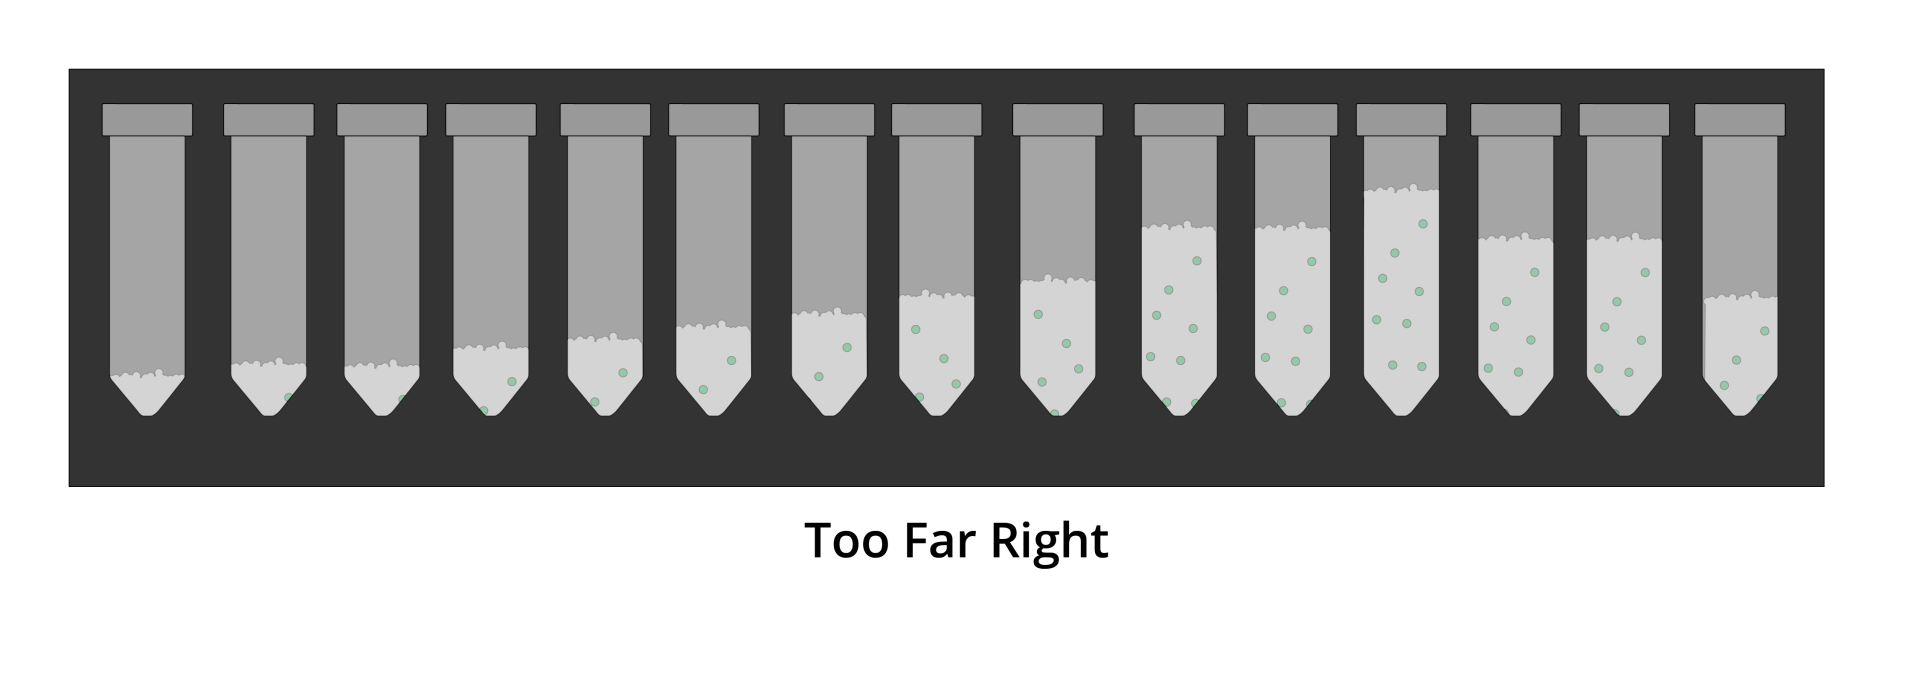
It’s common knowledge that applying too much fertilizer containing high percentages of readily available nitrogen and water soluble nutrients can result in burn damage to plants, but did you know that damage can still occur even if your application rate is correct? Applying the right product at the right rate, but at the WRONG time can have disastrous consequences.
White Plains, NY – January 30, 2026 – Interoceanic Corporation (“IOC”) announced today that its affiliate Spring Valley USA (Spring Valley) , has acquired the blending and packaging assets and business of Turf Care Supply, LLC, a leading manufacturer and blender of turf and ornamental fertilizers as well as ice melt. The combination of Spring Valley and Turf Care Supply’s blending business, forms one of the largest independent lawn and garden fertilizer platforms in North America. The integrated business will have approximately 250 employees and will operate eight manufacturing and blending facilities across seven states, enabling coast-to-coast coverage of customers. By uniting two highly complementary companies, this acquisition creates a world-class turf & ornamental supply company positioned to deliver enhanced value to both professional and retail customers. “This acquisition is a transformative step for our organization,” said Elio Mazzella , President of IOC and Spring Valley. “By bringing Turf Care Supply into the IOC family, we are significantly expanding our reach and capabilities in serving the lawn and garden industry. The combined company will have an unrivaled production footprint and product portfolio, which means we can offer our customers faster service, greater efficiency, and innovative solutions on a national scale. Our goal is to build a world-class platform that blends the strengths of both businesses – the supply chain efficiencies of the combined business and the family-business values – will drive growth for our customers and vendor partners.” With the closing of the transaction, Turf Care Supply, LLC will be renamed Allied Nutrients and continue to manufacture leading enhanced efficiency fertilizers (“EEF”) out of its Martins Ferry, Ohio facility. Mark Mangan, President of Allied Nutrients, commented, “we want to thank our long-time employees that will be joining the IOC family and wish them well. We have known the IOC team for many years and believe this will be a great home. At the same time, we are excited for our remaining employees as we focus our resources and efforts on providing the best EEF solutions to the turf and ornamental market.” With this acquisition, the combined company now operates manufacturing facilities in Wisconsin, Ohio, Texas, Florida, Massachusetts, Tennessee, and Oklahoma, giving it the ability to blend and package fertilizer products and ice melt closer to customers in every major region. Turf Care Supply’s sites in Hatfield (MA), Sebring (FL), Cleveland (TN), and Catoosa (OK) will join Spring Valley’s existing plants in Jackson (WI), Fostoria (OH), Greenville (TX), and Longwood (FL). This expanded footprint significantly reduces transit times and enhances supply reliability for our customers. Maintaining strong customer relationships during and after the integration is a top priority. “All of our customers will continue to receive the outstanding service and product quality they expect, now with the added benefit of a truly national production network,” Mazzella added. Each major customer will be supported by an expanded team dedicated to ensuring a seamless transition and ongoing success. Strategically, the merger of Spring Valley and Turf Care Supply unlocks significant commercial synergies that will benefit both our customers and vendor partners. Together, the company will offer the most comprehensive product portfolio in the industry. “This combination is about building a platform that is perfectly suited to support our customers growth,” said Mazzella. “By combining our R&D and product development efforts, we intend to bring new, high-value solutions to market that neither company could have achieved alone.” The integration of the two businesses is already underway, with a focus on maintaining operational continuity and exceptional customer service throughout the spring season. The company also emphasized that all Turf Care Supply employees are being welcomed into the organization, and that the combined workforce will play a crucial role in driving the business forward. “This is an exciting moment for all of us. By uniting two great teams, we’re creating a stronger company with a shared commitment to our customers’ and vendors success, ” Mazzella noted. About Interoceanic Corporation (IOC): Based in White Plains, NY, IOC is a diversified family-owned company specializing in the production, marketing, and distribution of fertilizer and industrial chemical products. Other notable affiliates of IOC are PCI Nitrogen, Columbia River Nitrogen and EM² Enterprises. With this transaction, the group of businesses consist of over 600 employees. IOC’s family values, entrepreneurial spirit, and supply chain expertise have driven its growth from a regional fertilizer distributor into an international platform that provides reliable, high-quality products. About Allied Nutrients: Based in Brunswick, OH, Allied Nutrients specializes in providing enhanced efficiency fertilizers that support turfgrass and ornamental plant health. Through world-class manufacturing and research and development, the company offers a comprehensive portfolio of products, including SCU, PCU, PCSCU, reacted slow-release nitrogen, and urease inhibitors. These solutions are marketed under leading brands, such as XCU, TTRU, UFLEXX, UMAXX, Nutralene, and Nitroform.
Want to maximize your ROI and turf health? Ditch the filler and replace your blends with Enhanced Efficiency Fertilizers (EEFs), Micro packs, Soil Amendments, or organic materials. These alternatives can reduce your seasonal application of bags, reduce overall material cost and deliver better results!
Turf Care Supply, LLC, a portfolio company of Platte River Equity, has officially acquired Beaty Fertilizer, the industry respected Tennessee-based manufacturer and blender of custom granular and liquid fertilizers, as well as combination products. This strategic move expands Turf Care’s manufacturing footprint, adds new product capabilities, and enhances overall production capacity.
Root out Grubs, Before they Attack Yours!
Platte River Equity Portfolio Company Turf Care Supply, LLC Acquires Agri-Nutrients, Inc.
Dear Valued Industry Partners and Customers, We are pleased to announce that Turf Care Supply, LLC has acquired Agri-Nutrients, Inc. (October 1, 2024) a respected manufacturer in the turf and ornamental fertilizer industry. This acquisition marks a significant step forward in our commitment to providing you with an expanded range of innovative products, services, and industry expertise, all designed to support your business’s continued growth and success. As a valued partner or customer, you will benefit from enhanced service capabilities and an extended geographic reach, thanks to Agri-Nutrients, Inc.’s strategic facility located in the Port of Catoosa, Oklahoma. With this established presence in the Southwest and Western markets, Turf Care Supply, LLC’s expanded operational footprint will allow us to serve a broader region with greater efficiency, delivering even stronger support to help drive your business forward. We are dedicated to ensuring a seamless transition while maintaining the high standards of service you expect. If you have any questions or would like to explore how this new location can enhance your operations, please feel free to contact your account manager or our customer service team. Thank you for your continued trust in Turf Care Supply, LLC . We look forward to partnering with you as we grow together and continue supporting your success. Sincerely, Mark ManganPresidentTurf Care Supply, LLC
With a focus on providing sustainable manufacturing and reducing carbon emissions, Turf Care Supply has embraced the electric power market with the latest mobile equipment upgrades. Completed in June 2023, TCS received all deliveries of electric forklifts to all three manufacturing facilities, including Hatfield, MA, Martins Ferry, OH and Sebring, FL.
When handling fertilizers and pesticide it is important to follow suggested guidelines and prioritize safety to protect yourself, others, and reduce environmental impact. Here are some general measures to follow: 1.Read and Follow Instructions: Carefully read and understand the product labels, safety data sheets (SDS), and any accompanying instructions provided by the manufacturer. Follow all recommended guidelines, precautions, and application rates.